|
Now that we have some exposure on how to add the WLC to the DNAC, refer the link below - https://amiyasrivastava.weebly.com/wireless/cisco-sda-wireless-adding-a-wlc Let's go ahead and explore how do we go about provisioning the WLC. What it means is basically how do we push all the good bits (WLAN/SSID, Interface details, RF details and such) to the WLC. 1. Once the WLC is discovered, we should be able to see it in the ‘Provision’ -> ‘Devices’ list as well. 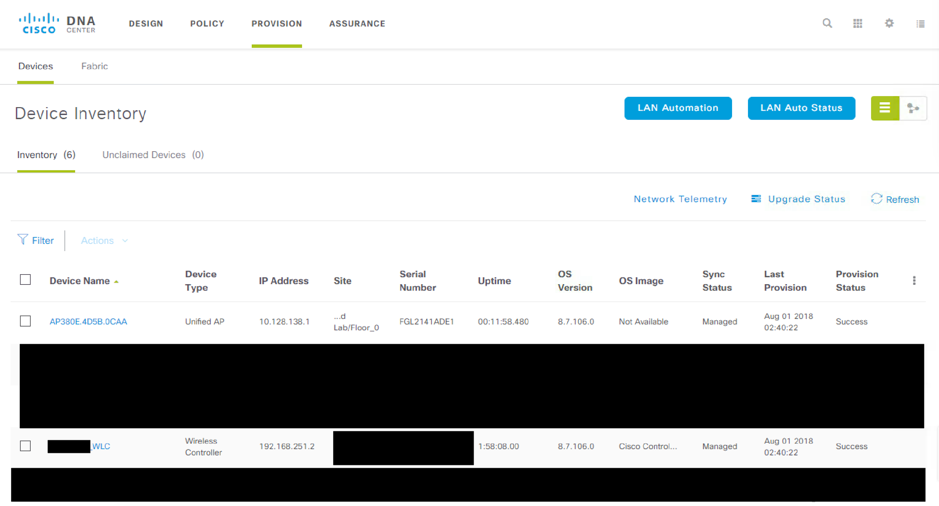 2. Select the WLC and from Actions menu, click on ‘Add device to site’ Please refer to the below link on how do we add the site to the DNAC - https://amiyasrivastava.weebly.com/wireless/cisco-sda-wireless-adding-a-site 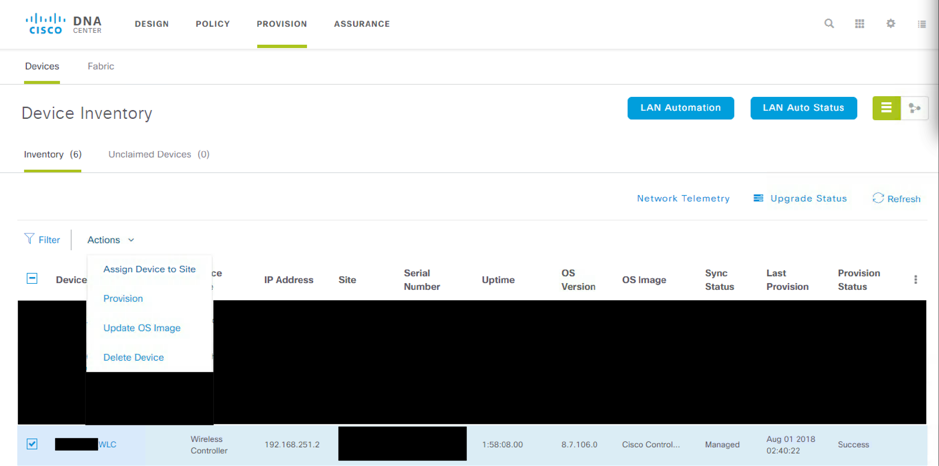 3. Once the WLC is added to Site, we should be able to see the ‘Site’ section populated for the WLC. 4. We then go ahead and ‘Provision’ the WLC by selecting the WLC and clicking on ‘Actions’ -> ‘Provision’ a) On the “Assign Site” page, please make sure that the right device is selected and the site mapped is correct and click Next – 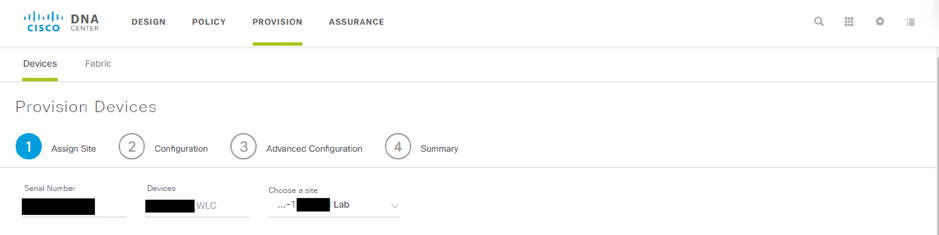 b) On the “Configuration” page, make sure that the WLC & AP sites are correct and click Next - 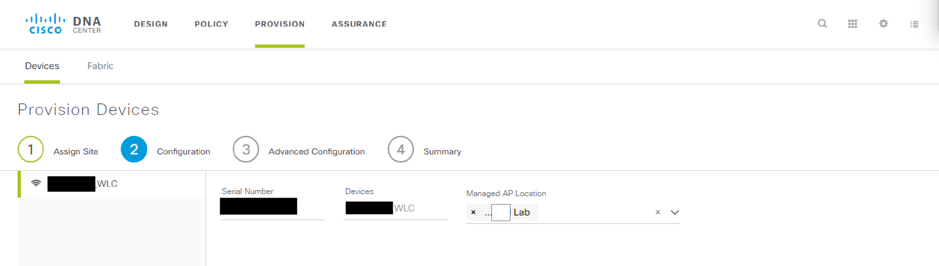 c) On the ‘Advanced Configuration” page, if there are any templates, we map it. If not, we leave it empty (it will say something like “Template is not available for the site of the selected device”) and click Next d) On the “Summary” page, review the complete config that is to be pushed to the WLC. This is an important page to review everything before it gets pushed. 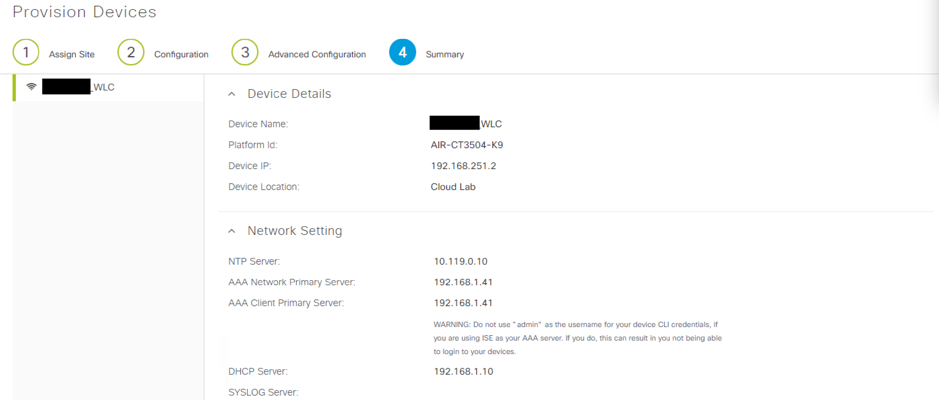 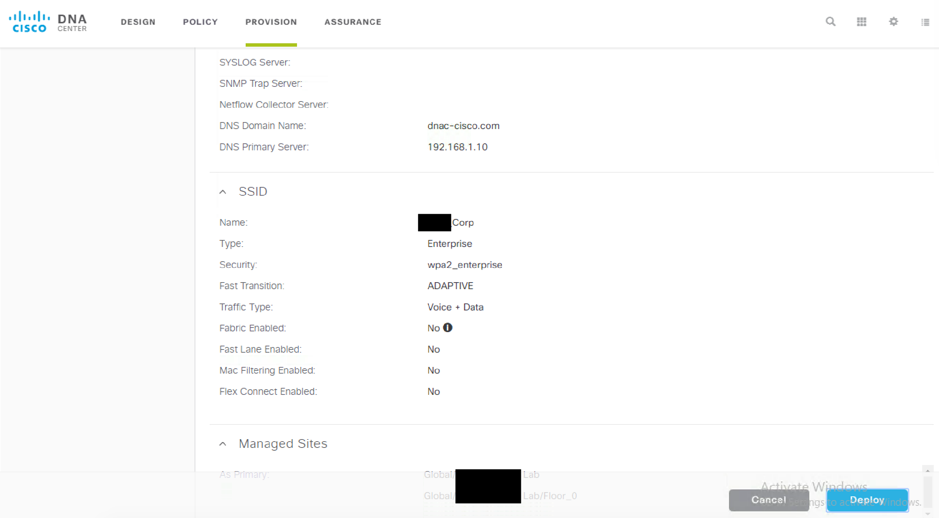 The notification next to 'Fabric enabled' says 'SSID will be fabric enabled only if it is configured with a segment in the "Fabric > Host Onboarding" page'. What it basically means is that even after provisioning the SSID is not 'Fabric' enabled as there are more steps required, namely, host onboarding, to get the SSID to a Fabric enabled status. 5. Once we have reviewed the config that is going to be pushed, hit ‘Deploy’. Which will take us to the next page which allows one to either do it now or schedule it. 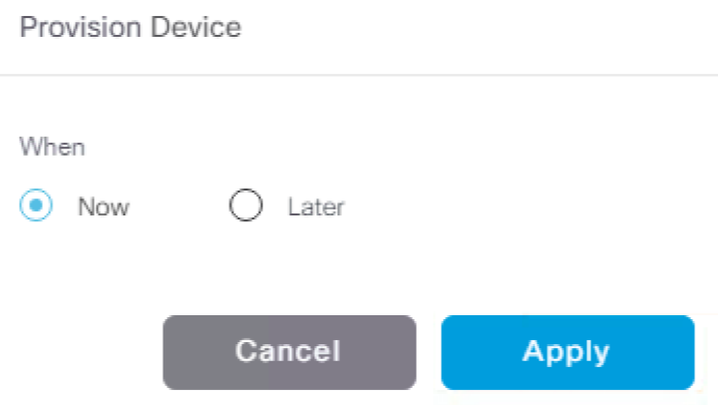 6. Once we Apply the config on the summary page is pushed to the WLC. Which will create the SSID and configure the rest of the parameters on the WLC.
The SSID, will have the following features – 1. It will have a WLAN ID greater than 16 so that the WLAN is not a part of default AP Group 2. It will have a suffix of ‘_F’ or ‘_NF’ indicating it is either Fabric or Non-Fabric SSID. If it is a Fabric SSID, it will be disabled until the Host Onboarding part is taken care of. Which is essentially mapping a 'Fabric' interface to the WLAN. We will talk about host onboarding and configuring the other parameters to be pushed to the WLC in another article. So, this is how we go around provisioning the WLC. Comments are closed.
|
Archives
September 2018
Categories |
 RSS Feed
